



Last Day
Part 1- Day1 http://chocmud.blogspot.com/2007/12/day-1-singapore.html
Part 2- Day1 http://chocmud.blogspot.com/2008/02/day-1-singapore.html
Part 1- Day2 http://chocmud.blogspot.com/2008/03/day-2-singapore.html
Part 2- Day2 http://chocmud.blogspot.com/2008/03/day-2-spore.html
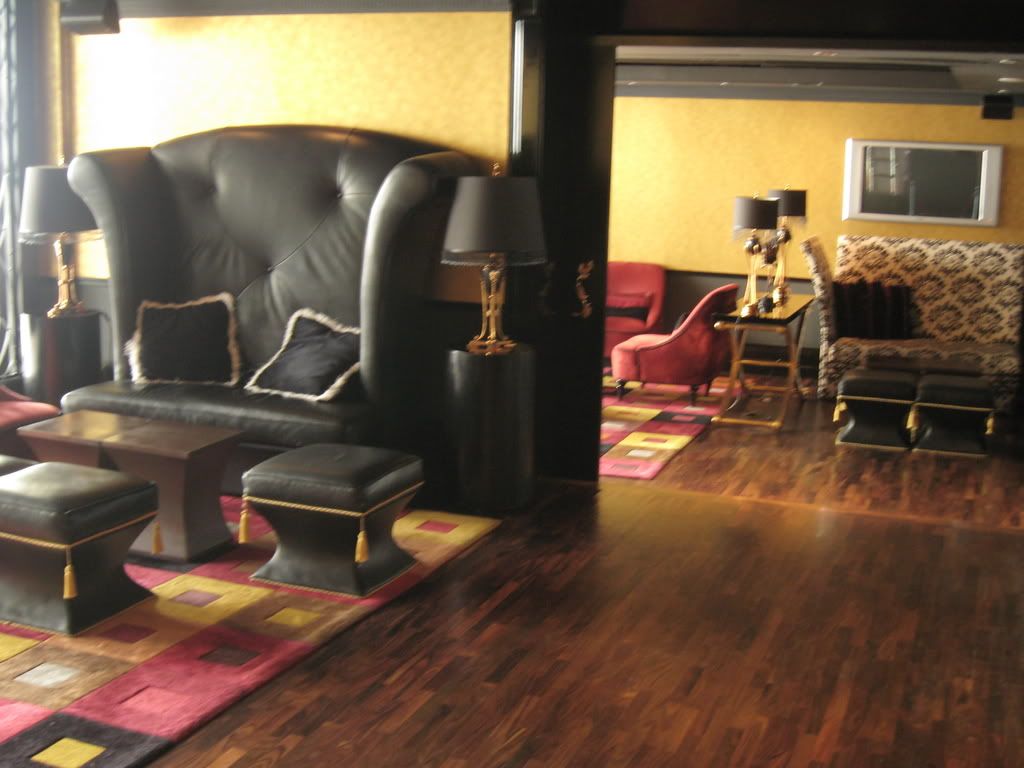
This is the last day of our visit. We check out without having breakfast as the room charge actually did not include breakfast. Yesterday, the breakfast was on our own expenses. As we passed by the lobby, I knew I had to take a picture of the lounge. It was again, beautifully design with different sets of sofas. We did not have a chance to go there for a drink as we came back very late last night.
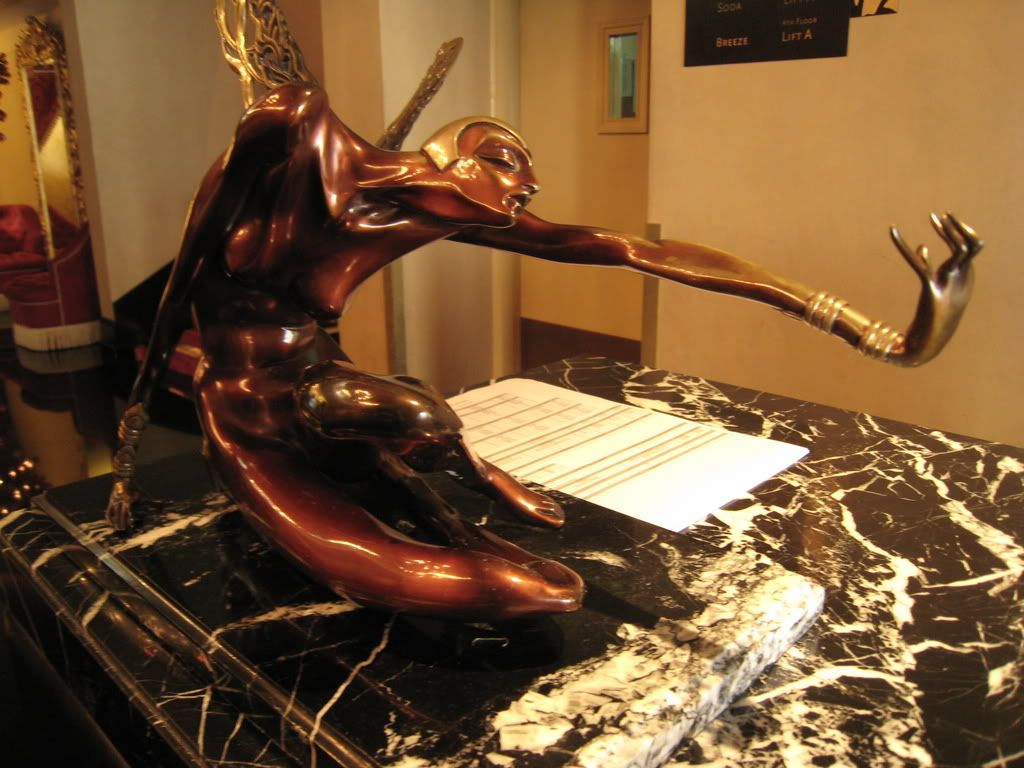
 When I saw this, it reminds me of a dying fairy I once saw in a movie.
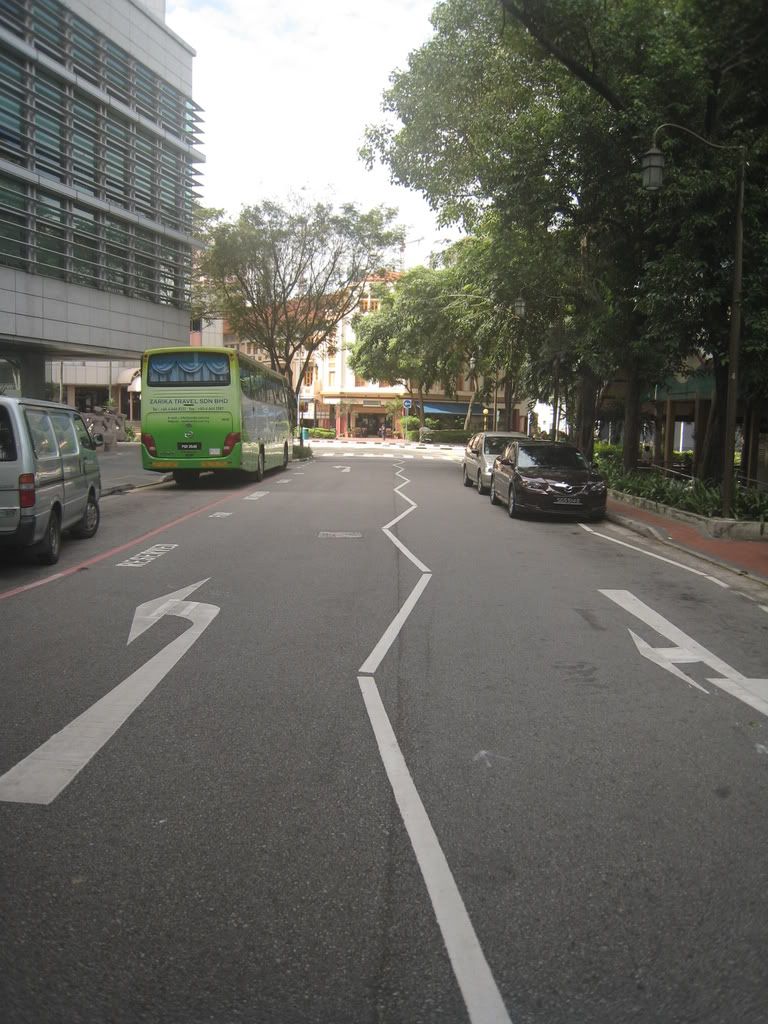
  This is another must-take photo. In M'sia, there will never be crocked lines like this. The first time I saw this, I had a laugh myself. You must think I'm crazy huh? Well, pardon me as this is the first time I went to Singapore.
 We went to Vivo City to kill our time before our flight at 6pm. I saw this cute hanging reindeer be the escalator.
 Coincidently, we bumped into a troupe of bridesmaid and bride+groom. They were there taking pre-wedding shoots I pressume. I wanted to go over to congratulate them if not for my baggage.
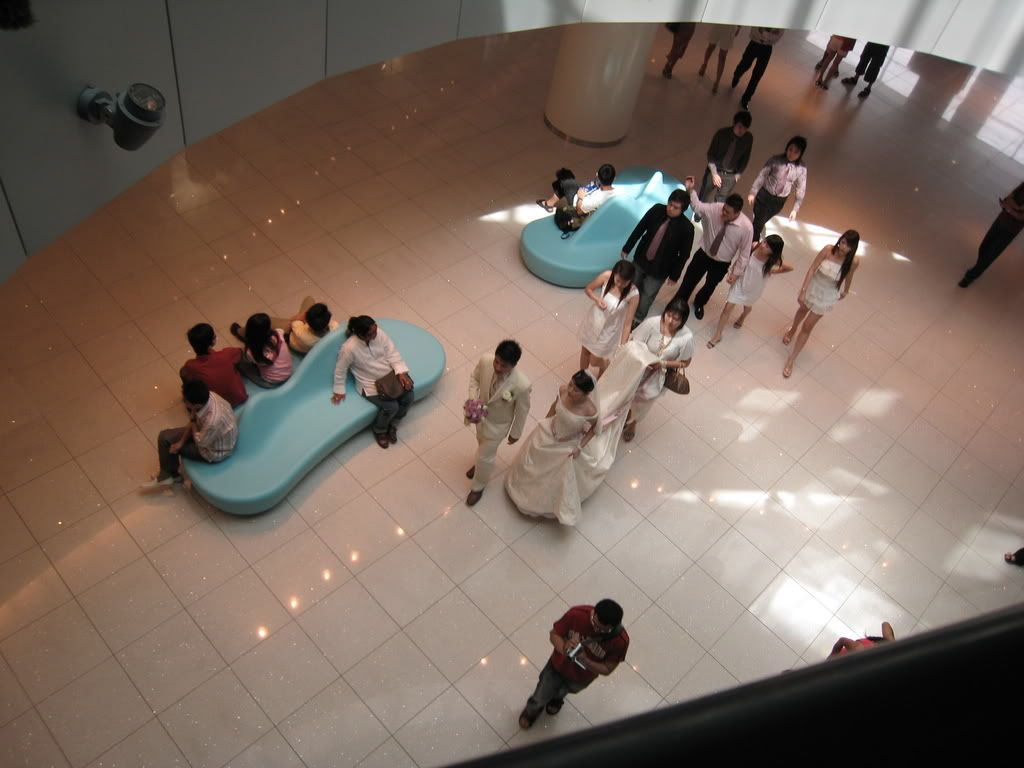 I feel silly taking all this while shopping. But that's what makes me different from others ;p I'm on my honeymoon...
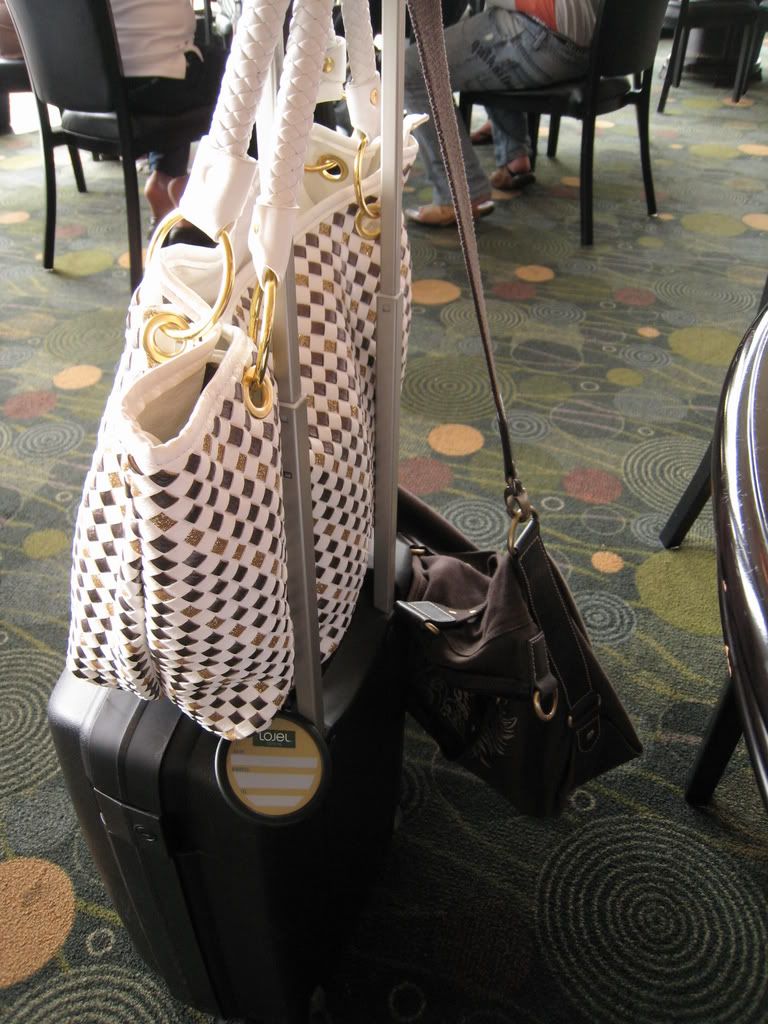 We did not take breakfast this morning, so we were dead hungry by the time we reached Vivo. Sis recommended us to try the crab in No Signboard Seafood. As I thought she had tried it before and found it yummy, then it must be reasonably priced (quite cheap).
 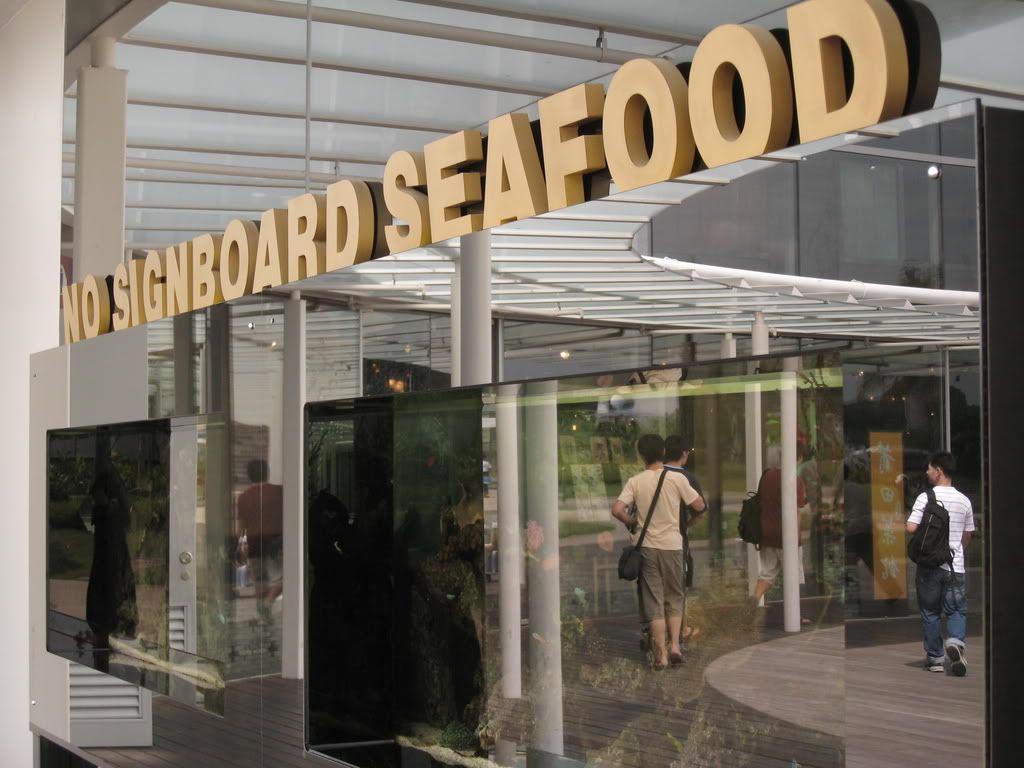 Hubs leaded the way into the restaurant and I followed behind. As the sliding door open, it reveal this...
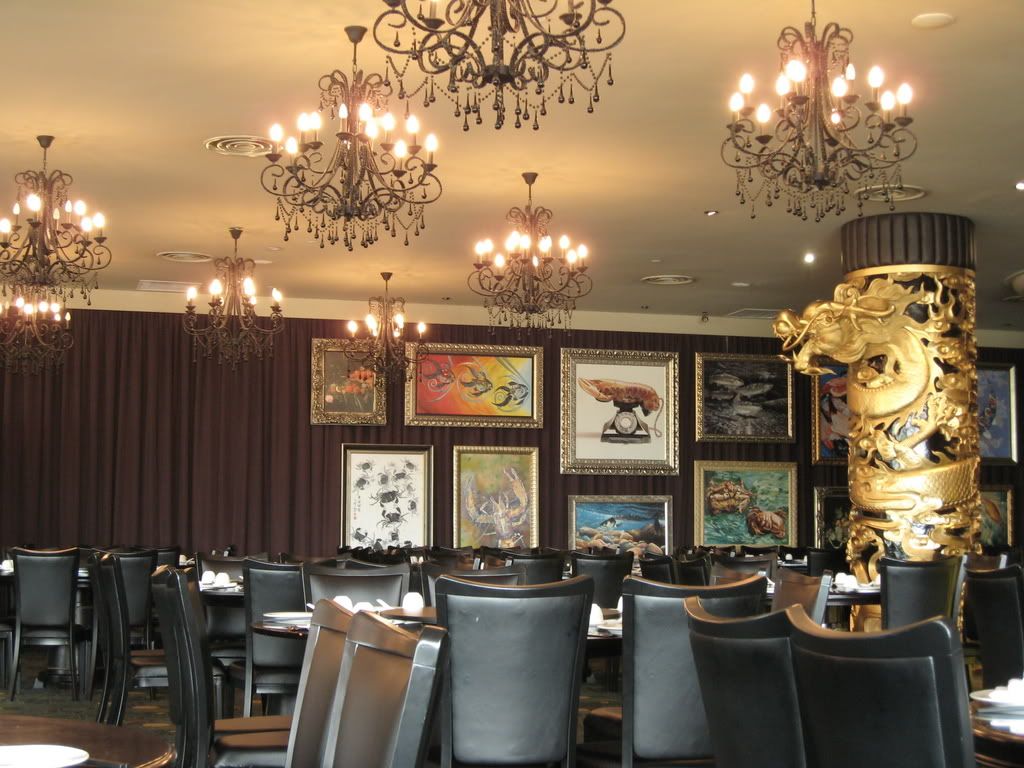 I went like Oh-shit! This must be a throat cutting restaurant. The ambiance and the deco will burn a hole in pocket. Surprisingly, the food is well, reasonably priced. A kilo of their famous crab is priced at SG38. Do not do the conversion, otherwise you will not want to even go in. They have quite a number of branches, namely Geylang, Suntec Center and Esplanade Mall.
 We ordered stir fried water-chicken with dried chilli and a crab cooked in sweet and sour sauce.
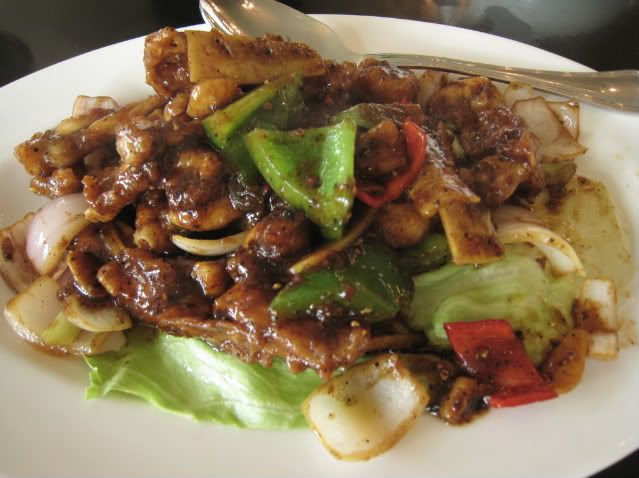
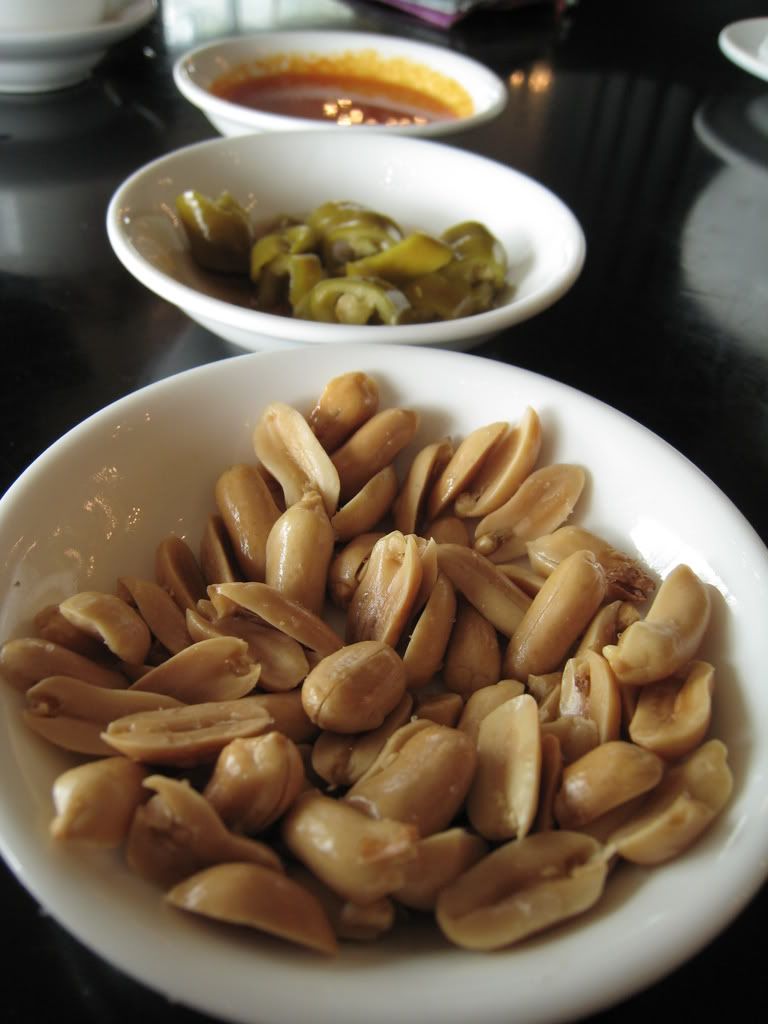 This is the stir fried water-chicken. It does not taste so good as they are from water tank rather than catch it from river. The meat is not bouncy and it feels like there was only bones wrapped in skin (skinny froggies).
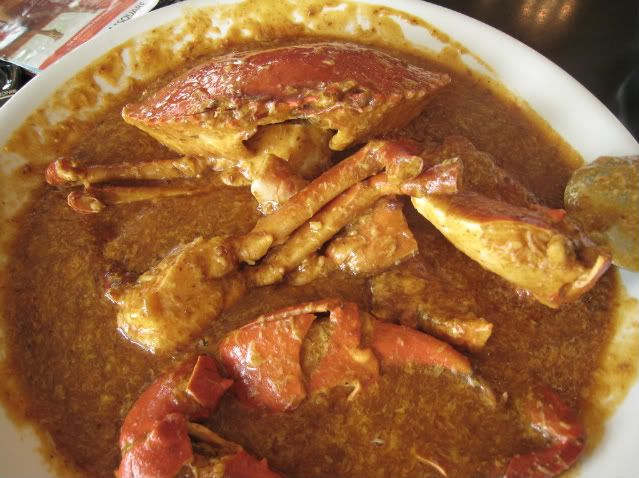
 The crab that is worth the waiting and $$. When the captain brought this to our table, we had a shocked. It was so huge we can barely finish it. The crab weighted 1.2kg
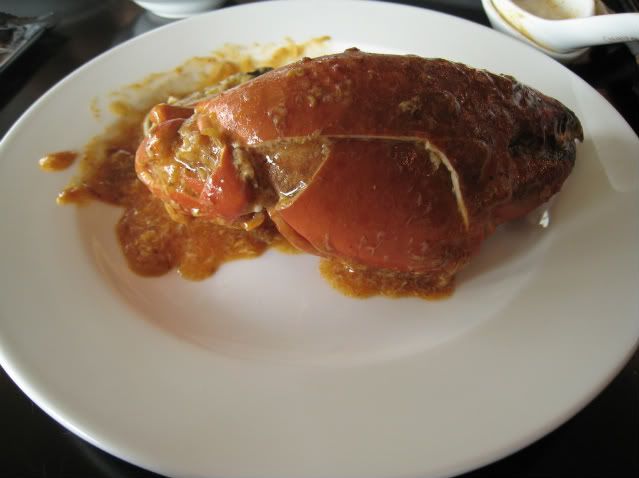
 See how big it is? The hand alone had already taken up the whole plate. After the meal, we were so full we can't move for a while.
 When we came back and told Sis that it was pricey, then only she told us, "I told you it's expensive right?" and I went o_O.
We took a stroll around Vivo after lunch (with our luggage trolling behind). In the Sony center, I urged Hubs to try out the PS2 over there. He finally gave up after 10mins struggling to operate the controller. And he made up his mind to get a PSP so that he can still keep up with the fast evolving tech. He said, at least when next time his son asked him how to play, he can show them and not be like others. And so here's our new bought play station.
Part 1- Day1 http://chocmud.blogspot.com/2007/12/day-1-singapore.html
Part 2- Day1 http://chocmud.blogspot.com/2008/02/day-1-singapore.html
Part 1- Day2 http://chocmud.blogspot.com/2008/03/day-2-singapore.html
Part 2- Day2 http://chocmud.blogspot.com/2008/03/day-2-spore.html
This is the last day of our visit. We check out without having breakfast as the room charge actually did not include breakfast. Yesterday, the breakfast was on our own expenses. As we passed by the lobby, I knew I had to take a picture of the lounge. It was again, beautifully design with different sets of sofas. We did not have a chance to go there for a drink as we came back very late last night.
When I saw this, it reminds me of a dying fairy I once saw in a movie. This is another must-take photo. In M'sia, there will never be crocked lines like this. The first time I saw this, I had a laugh myself. You must think I'm crazy huh? Well, pardon me as this is the first time I went to Singapore.We went to Vivo City to kill our time before our flight at 6pm. I saw this cute hanging reindeer be the escalator.Coincidently, we bumped into a troupe of bridesmaid and bride+groom. They were there taking pre-wedding shoots I pressume. I wanted to go over to congratulate them if not for my baggage.I feel silly taking all this while shopping. But that's what makes me different from others ;p I'm on my honeymoon...We did not take breakfast this morning, so we were dead hungry by the time we reached Vivo. Sis recommended us to try the crab in No Signboard Seafood. As I thought she had tried it before and found it yummy, then it must be reasonably priced (quite cheap). Hubs leaded the way into the restaurant and I followed behind. As the sliding door open, it reveal this...I went like Oh-shit! This must be a throat cutting restaurant. The ambiance and the deco will burn a hole in pocket. Surprisingly, the food is well, reasonably priced. A kilo of their famous crab is priced at SG38. Do not do the conversion, otherwise you will not want to even go in. They have quite a number of branches, namely Geylang, Suntec Center and Esplanade Mall.We ordered stir fried water-chicken with dried chilli and a crab cooked in sweet and sour sauce.This is the stir fried water-chicken. It does not taste so good as they are from water tank rather than catch it from river. The meat is not bouncy and it feels like there was only bones wrapped in skin (skinny froggies).The crab that is worth the waiting and $$. When the captain brought this to our table, we had a shocked. It was so huge we can barely finish it. The crab weighted 1.2kgSee how big it is? The hand alone had already taken up the whole plate. After the meal, we were so full we can't move for a while.When we came back and told Sis that it was pricey, then only she told us, "I told you it's expensive right?" and I went o_O.We took a stroll around Vivo after lunch (with our luggage trolling behind). In the Sony center, I urged Hubs to try out the PS2 over there. He finally gave up after 10mins struggling to operate the controller. And he made up his mind to get a PSP so that he can still keep up with the fast evolving tech. He said, at least when next time his son asked him how to play, he can show them and not be like others. And so here's our new bought play station.


